Measure the pattern or joint, use the selected product’s data, add an explicit reserve, and only then round to packages.
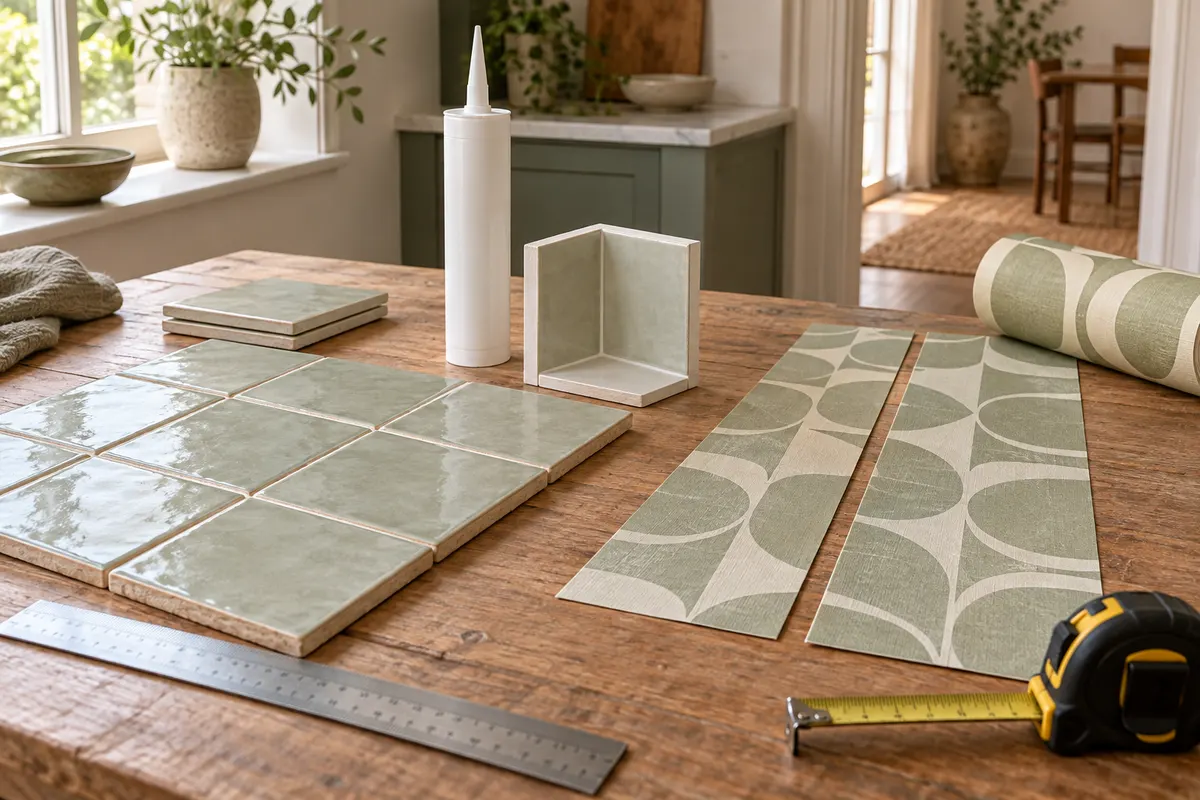
AI-generated topic illustration, not an installation diagram. Connections, dimensions and instrument readings shown are not recommendations.
1. Make a room-by-room measurement sheet
Write down wall widths and maximum heights separately, tile formats, joint lengths and filled sections. Keep different products and batch colours on separate lines. Photograph a ruler beside a sample, without assuming a photo can replace measurement.
2. Count complete wallpaper strips
An area estimate can miss a roll that has plenty of leftover area but no full-height strip. For free match use height plus total trim; for straight match allow the next full vertical repeat. Record start alignment loss for each roll. Do not extend this model to offset match, murals or A/B rolls.
Example: sixteen 3.20 m strips need six rolls giving three strips each. A window is not automatically a saving: the strips above and below it still need pattern and seam planning.
Graham & Brown: pattern repeat and design match ↗3. Separate grout from movement joints
Estimate grout with the real tile dimensions, filled joint depth and the product’s consumption factor. The default factor is only an example; check the selected product table, especially for bevelled tiles and mosaics.
Identify movement joints and transitions before work. Do not fill a specified flexible joint with rigid grout, or treat grout as a substitute for a wet-room waterproofing system.
MAPEI: Ultracolor Plus consumption formula and coverage ↗4. Measure the filled sealant section
Length alone does not determine cartridges: doubling both width and depth multiplies the geometric volume by four. A right-triangle fillet uses its two perpendicular legs, not its visible diagonal face. Actual tooling and loss vary.
Quantity cannot validate a joint detail. Use the selected system instructions for adhesion, backing material, primer, preparation and curing before exposure to water. Do not thin a specified bead just to reduce the order.
Sika: construction sealant yield and application ↗5. Test a sample before the final order
Trial a wallpaper strip or small grout/sealant area, check colour and surface compatibility, then update the allowance. Round only after adding losses. Keep product name, batch, date and assumptions with the saved calculation so a later repair can use the same reference.
Plan the grid and cuts before the order
Include actual tile dimensions, internal joints and separate perimeter gaps. A centred rectangle does not check skew walls, thresholds or movement details. Compare permitted orientations and dry-lay a trial row; installed positions are not a tile purchase count.
What to measure before ordering
| Material | Key measurement | Cannot prove |
|---|---|---|
| Wallpaper | Complete strip length and pattern start | Offset-match or mural layout |
| Grout | Tile size, filled joint section, product factor | Waterproofing or movement accommodation |
| Sealant | Length and actual filled cross-section | Adhesion or joint movement capacity |
Worked example
A small joint still needs a whole cartridge
A 12 m rectangular joint has a 6 × 6 mm filled section, 15% loss allowance and 310 mL cartridges.
12 × 6 × 6 = 432 mL
432 × 1.15 = 496.8 mL
ceil(496.8 / 310) = 2 cartridges
Two cartridges give 620 mL. The 123.2 mL difference is an order surplus, not a reason to alter the required section.
What to have ready
- Separate measured wall and joint schedule
- Match type, repeat and roll-start loss
- Current selected product coverage and application sheet
- Trial sample and batch/colour check
- Explicit losses, reserve and whole-package rounding
Common mistakes
- Ordering patterned paper solely by square metres.
- Using the same grout factor for every product.
- Putting rigid grout in a movement joint.
- Measuring a triangle by its diagonal face.
- Changing the specified joint section to reduce cost.
Tools for these measurements
Prepare the measurements with these instrument guides.
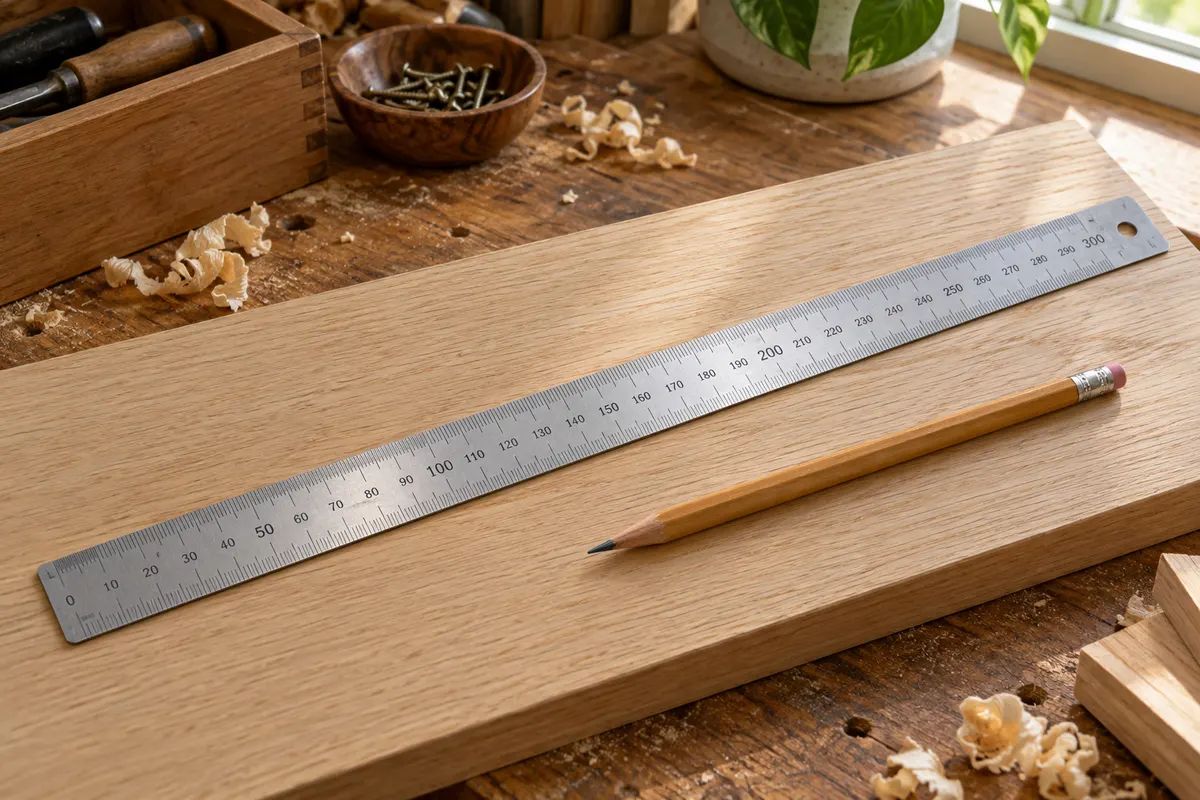
Measure short lengths and mark trim from a clear reference without confusing scale divisions with guaranteed accuracy.
How to use it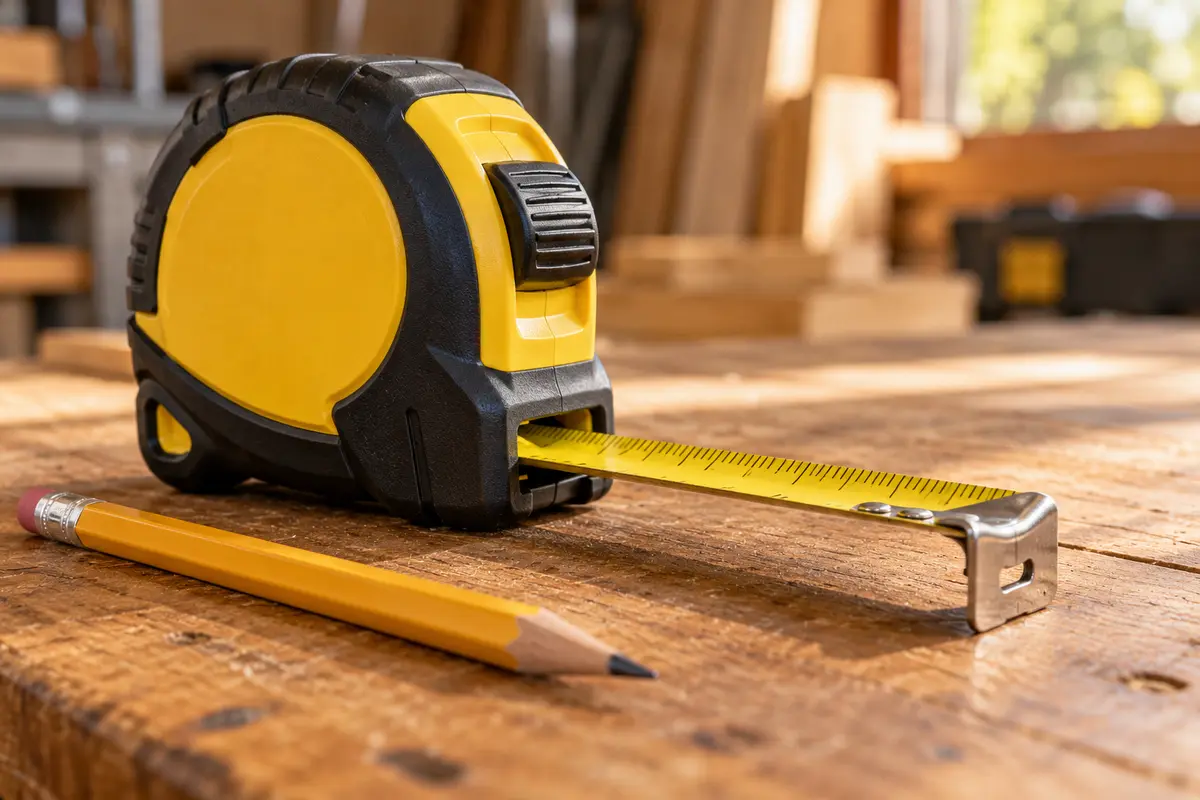
Measure a room, check an opening and avoid hook, sag and unit errors before ordering materials.
How to use it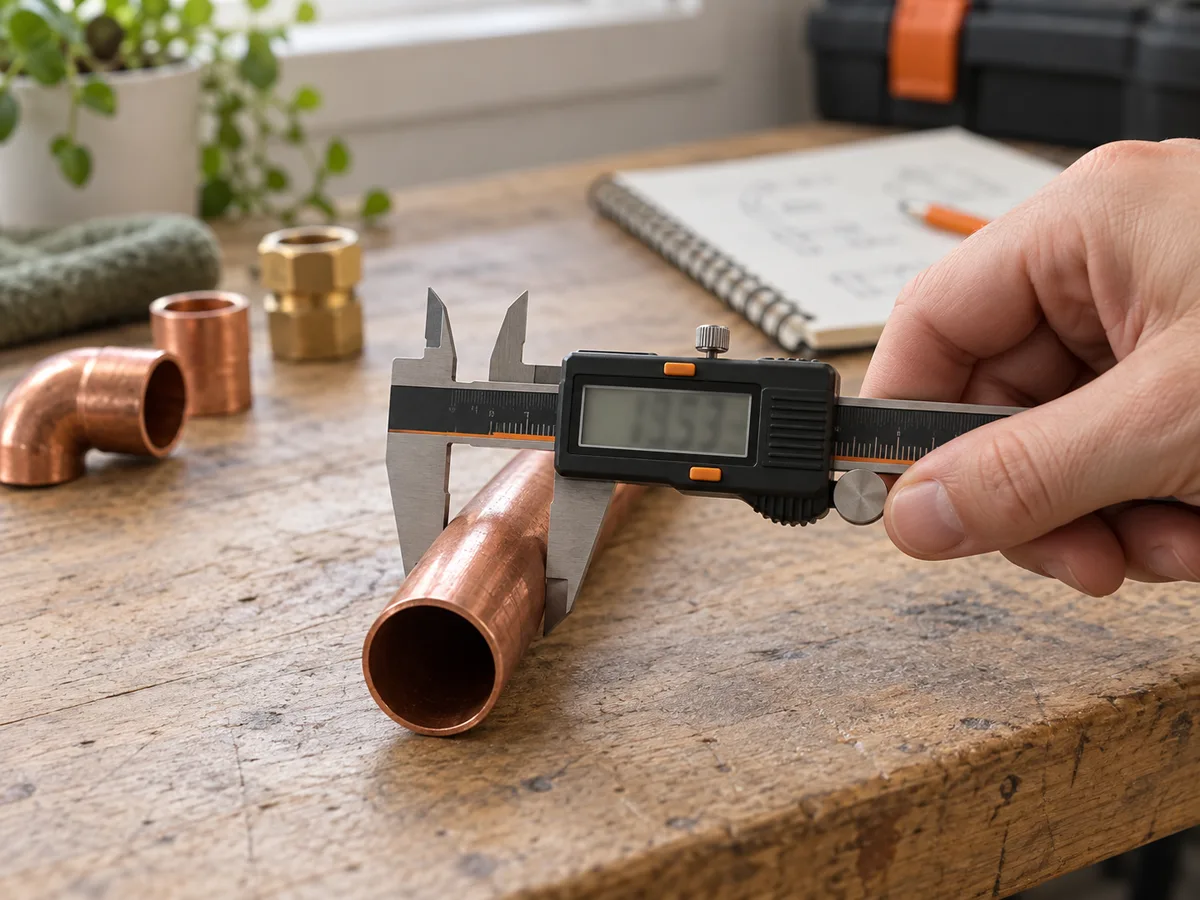
Measure outside, inside, depth and step dimensions without turning display precision into false accuracy.
How to use itReference check: 5 September 2026. Sources include US public agencies. Principles are general; regulations and design values must be checked where you live.Worked examples use stated hypothetical inputs.