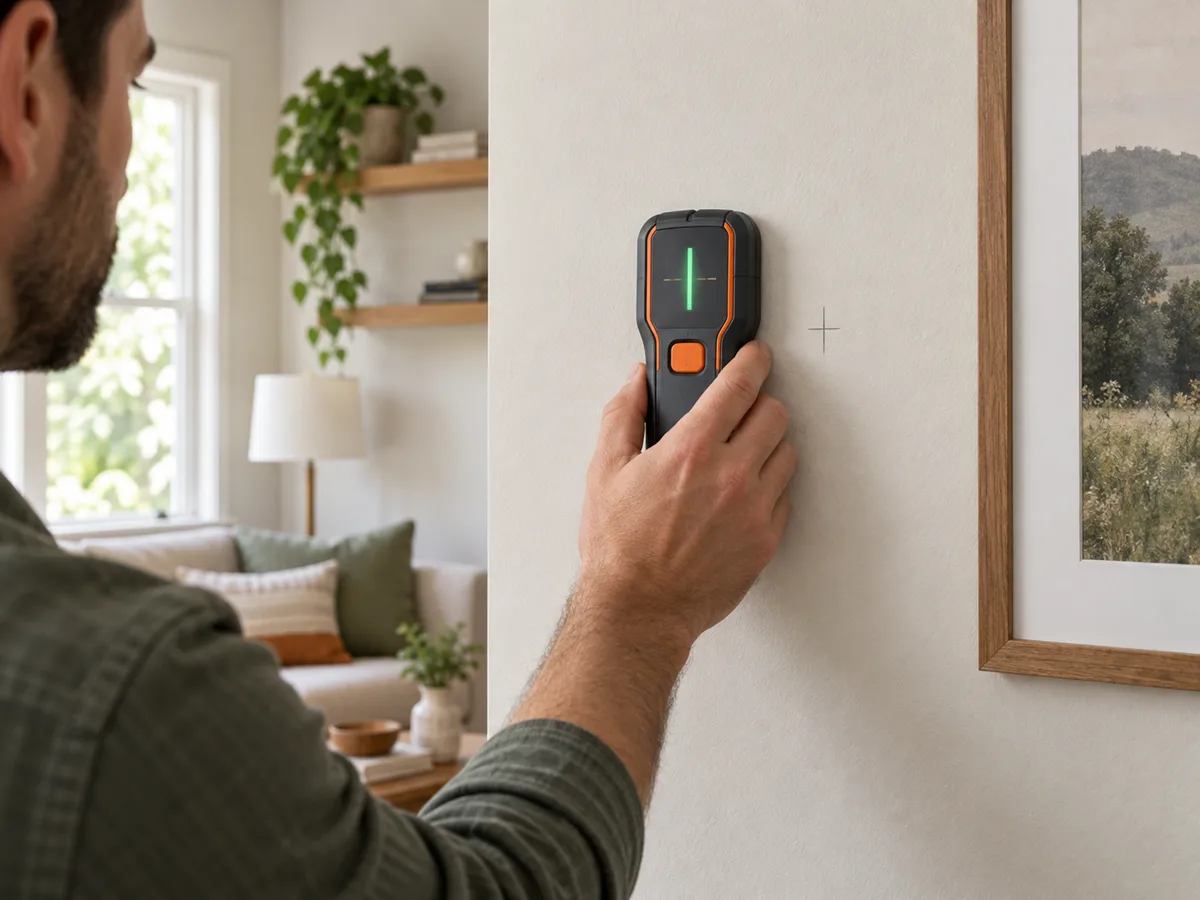
A REPEATABLE METHOD
How to use it
- Check the wall construction, choose the correct mode and remove nearby objects that may disturb the scan.
- Place the scanner flat on a clear reference area and calibrate it exactly as its instructions require.
- Move slowly in a straight line, keeping full contact and constant pressure; mark both edges of each repeatable response.
- Scan the same area from the opposite direction and at a second height. A credible stud or service route should form a consistent pattern.
- Use plans, visible fixtures and another detection method where consequences are high; isolate relevant services before drilling.
INTERPRET THE MEASUREMENT
How to read the result
- The display usually shows signal strength or an estimated center, not a photograph of what is inside the wall.
- Live-wire detection depends on voltage, load, depth, moisture, shielding, grounding and how the user holds the instrument.
- Regularly spaced vertical responses may suggest studs, but pipes, channels, fasteners and board joints can look similar.
TROUBLESHOOT THE METHOD
Common problems and what to check
Problem
The scanner reports objects almost everywhere.
What to do
Recalibrate on a clear area, verify the selected mode and remove rings or nearby metal. Foil-backed board, mesh and damp material may limit this method.
Problem
The live-wire warning disappears on a circuit known to be energized.
What to do
Do not assume the cable is absent. Shielding, depth, low load and construction can suppress detection; isolate and verify by a safer independent method.
Problem
The marked center moves between passes.
What to do
Slow down, keep the tool flat and mark repeatable edges from both directions. Treat an unstable response as uncertainty, not clearance.
STOP BEFORE THE HAZARD
Safety boundary
- A negative scan is never proof that drilling is safe. Consider likely cable and pipe routes and isolate services when applicable.
- Do not drill near distribution boards, sockets, switches, plumbing fixtures or known service zones without a verified plan.
- Stop and use a qualified trade professional when the construction is unknown or damage could cause shock, flooding, gas release or structural harm.
SMART BUYING GUIDE
What to look for when choosing
- Choose a model that clearly separates stud, metal and live-wire modes and explains its maximum depth for each material.
- Good edge indication, a center marker and reliable recalibration are more useful than an unrealistic all-material detection claim.
- For frequent work, look for a clear display, audible or vibration feedback and a shape that stays flat during a slow scan.
Types of tool
Best for: Basic timber-frame locating on simple drywall.
Best for: Distinguishing likely studs, metal and energized conductors.
Best for: Complex assemblies where depth and material clues justify the cost.
Common functions
Stud edge and center indicationFerrous and non-ferrous metal modesLive-conductor warningDepth estimateCalibration status
Worth paying more for
- Repeatable edge detection and a clear confidence display
- Separate modes with documented depth limits
- Comfortable full-contact scanning and simple calibration
Usually not worth the extra cost
- Claims that one scan guarantees a safe drilling point
- Maximum depth figures without material-specific limits
- Phone connectivity that does not improve detection quality