A REPEATABLE METHOD
How to use it
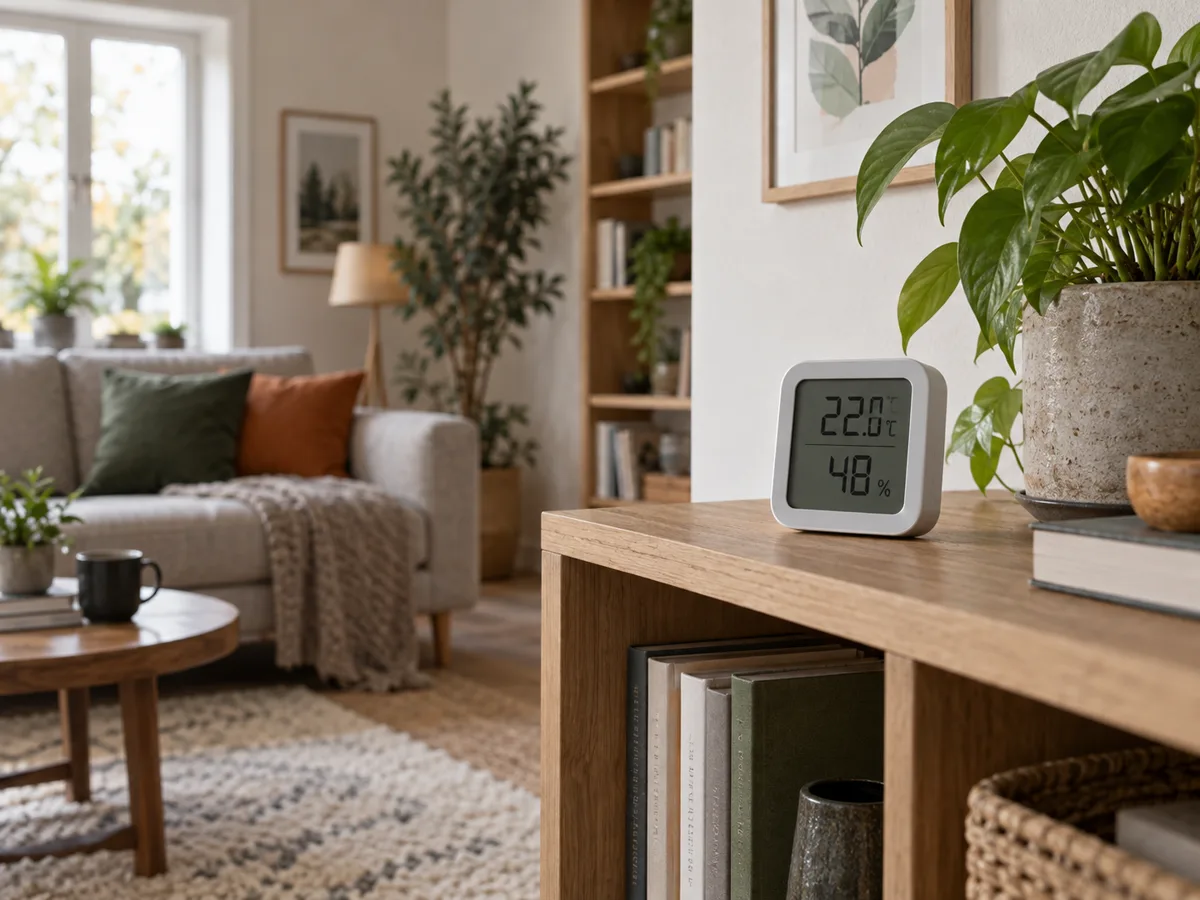
- Place the instrument in the occupied zone, away from direct sun, windows, heaters, humidifiers and air jets.
- Let it stabilize for at least 20–30 minutes after moving it; longer is better after a large temperature change.
- Record time, room use, outdoor conditions and whether cooking, showering or ventilation was active.
- Compare several rooms and repeat at the same time over multiple days instead of reacting to one peak.
- Use temperature and humidity together to calculate dew point and inspect cold surfaces when condensation is suspected.
INTERPRET THE MEASUREMENT
How to read the result
- Relative humidity changes when air temperature changes even if the amount of water vapor stays the same.
- Short peaks after bathing or cooking matter differently from a high level that remains for many hours.
- Two household sensors may differ by several percentage points; trends and cross-checks are more useful than false precision.
TROUBLESHOOT THE METHOD
Common problems and what to check
Problem
Humidity is high only beside a window.
What to do
Move the sensor toward the occupied zone and inspect the cold surface separately. Local cooling raises relative humidity near the glass.
Problem
Two meters disagree.
What to do
Place them together for several hours, allow stabilization and compare at mid-range humidity. Check whether either model supports adjustment.
Problem
The reading changes immediately when handled.
What to do
Body heat and breath affect the sensor. Put it down, step away and wait for a stable value.
STOP BEFORE THE HAZARD
Safety boundary
- A comfortable humidity reading does not prove that hidden cavities are dry or free of mold.
- Investigate persistent moisture, visible mold and combustion-related ventilation problems with appropriate professional help.
- Recommended humidity ranges depend on climate, building construction and local health guidance.
SMART BUYING GUIDE
What to look for when choosing
- Prefer stated temperature and humidity accuracy, a readable trend or min/max memory and a ventilated sensor opening.
- Logging is worth paying for when you need overnight or seasonal patterns rather than occasional spot checks.
- External probes help compare a cold void or outdoor air, but only if the probe specification covers humidity as well as temperature.
Types of tool
Best for: Visible daily feedback in one room.
Best for: Checking unattended daily peaks and lows.
Best for: Comparing rooms, seasons and ventilation changes.
Common functions
Temperature and relative humidityMinimum and maximum memoryDew-point displayTime-series loggingCalibration offset
Worth paying more for
- Stated accuracy and stable repeatability
- Exportable logging for moisture investigations
- User calibration offset for cross-checking
Usually not worth the extra cost
- A vague comfort face without numerical history
- Many wireless sensors when one-room placement is unresolved
- Extra decimal places beyond the sensor accuracy