A REPEATABLE METHOD
How to use it
- Clean the base and supporting surface. Check battery state and the manual’s calibration or verification procedure.
- Confirm whether the display is in absolute-level or relative-zero mode and whether the unit is degrees or percent.
- Place the designated base firmly on a stable surface, aligned with the direction of the slope. Let the reading settle.
- For relative comparison, set zero on the intended reference and record that reference before measuring the next surface.
- For a drainage check, compare the intended design with rise over horizontal run. Check more than one location rather than trusting one short contact point.
INTERPRET THE MEASUREMENT
How to read the result
- Relative zero means agreement with the chosen reference; it does not prove that reference is horizontal.
- A 2% fall is 20 mm per horizontal metre, not 2°. Percentage slope is 100 × rise/run; an angle uses the tangent relationship.
- A short gauge can miss sag, a joint step or a longer bend. A straightedge and independent rise/run measurement help check the whole run.
TROUBLESHOOT THE METHOD
Common problems and what to check
Zero looks correct on an obviously inclined surface.
Check for relative-zero mode and restore absolute measurement using the device’s instructions.
Rotating the gauge produces inconsistent results.
Check the specified measuring face, surface cleanliness, alignment and verification method. Follow model-specific recalibration instructions.
A round pipe will not support the gauge repeatably.
Use a suitable groove, fixture or aligned straightedge. A magnet only attaches to compatible ferromagnetic material.
STOP BEFORE THE HAZARD
Safety boundary
- Secure the gauge and supporting straightedge so they cannot fall or slide.
- Switch off and isolate machinery before measuring its fixed parts; never work beside a moving blade.
- Keep conductive tools away from electrical hazards. Do not enter an unsafe trench to obtain a slope reading.
SMART BUYING GUIDE
What to look for when choosing
- Check specified angular accuracy and measuring-face requirements, especially for shallow slopes.
- Select a stable base, clear mode indication and a readable display; confirm whether percent slope is actually supported.
Types of tool
Best for: Fixed ferromagnetic surfaces or a suitable straightedge.
Best for: A broader contact span; still check bends and instrument accuracy.
Common functions
Worth paying more for
- Documented accuracy around the angles you measure
- Clear reference-mode indication and a stable measuring face
Usually not worth the extra cost
- A magnet for exclusively non-magnetic surfaces
- Fine displayed increments with no corresponding accuracy specification
Sources & instructions
- Klein Tools: angle gauge functions and accuracy
- Klein Tools: relative zero and calibration instructions
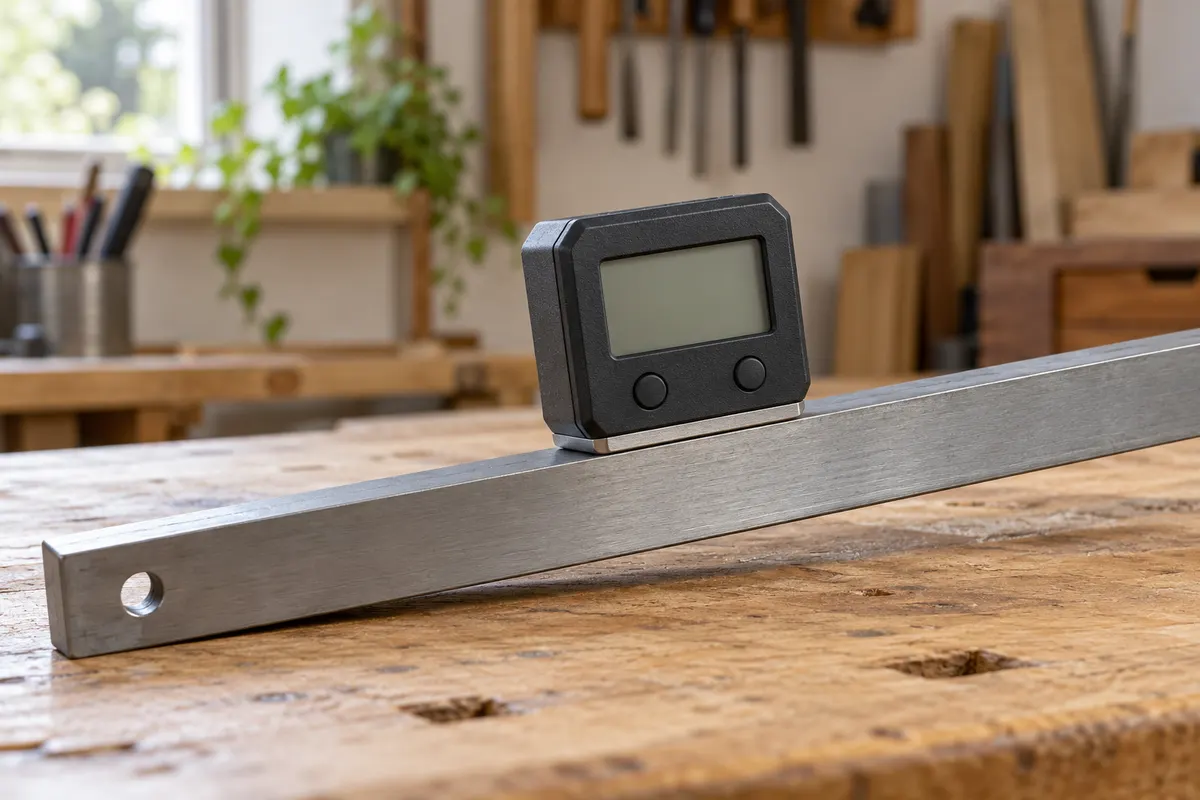
AI-generated topic illustration; do not use the depicted scale for measurements.
Put the measurements to work
Turn a required grade into invert levels while protecting cover, access and the downstream system.
Size the roof-drainage path from rainfall to safe dischargeConnect roof area and design intensity to gutters, outlets, downpipes and foundation drainage.