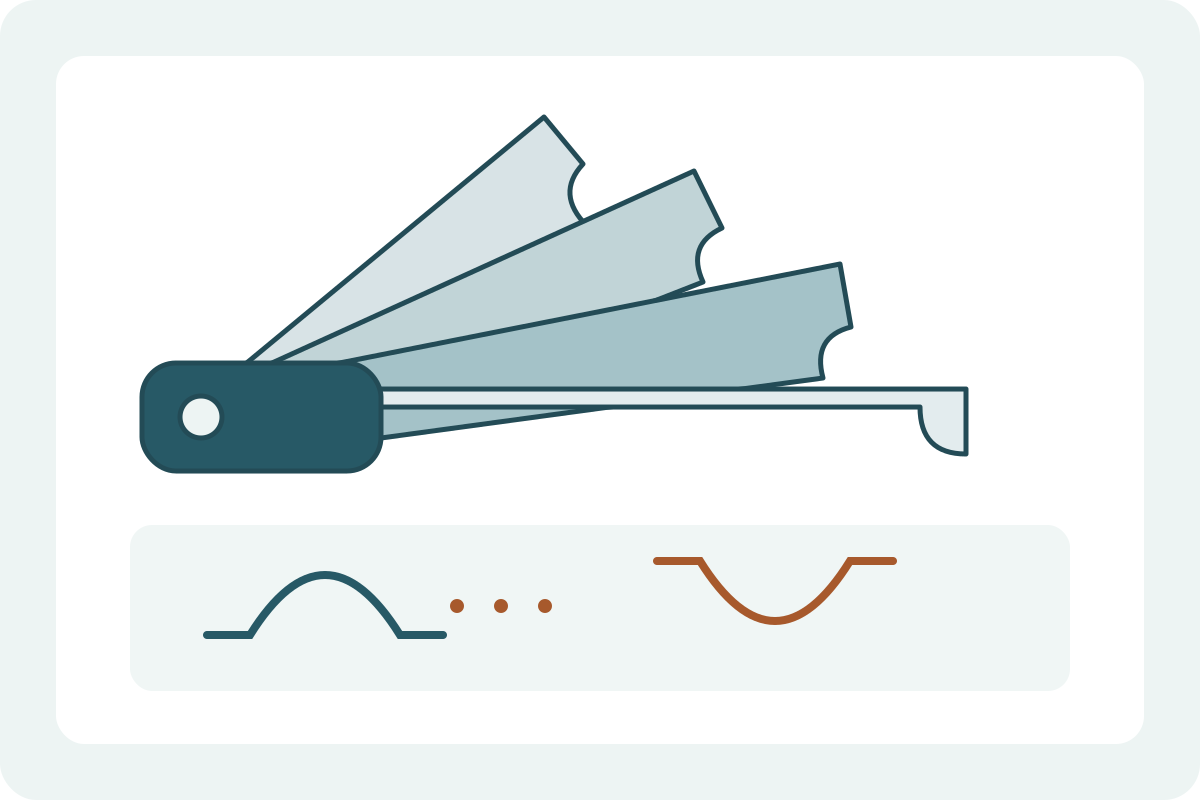
A REPEATABLE METHOD
How to use it
- Define the feature and comparison plane on an already loose, safely supported sample. Mark the location and whether the feature is an internal concave fillet or an external convex rounding. Use the actual profile section, not an oblique view; do not reach into machinery or dismantle an installed system to obtain the sample.
- Identify the set, radius markings and units. Inspect the selected leaf for bent, worn or damaged edges, and clean accessible sample/contact surfaces by the appropriate instructions. Do not scrape away a coating or burr merely to obtain a better-looking match: record the surface condition and resolve it separately.
- Choose a leaf edge with the opposing profile: a convex gauge edge for a concave feature, or a concave edge for a convex feature. Check the available arc and clearance against nearby shoulders. Starrett shows that different leaf shapes have different access and checking functions; a short curved edge does not automatically check the angle or tangency of adjoining faces.
- Bring the clean leaf gently into the chosen profile plane without rocking, forcing or bending it. Observe contact and visible gaps with ordinary safe lighting; never use a laser or a moving cutting tool as part of this comparison. Check nearby available sizes in the same plane. A gap is a mismatch observation, not a measured gap width or an automatic larger/smaller-radius diagnosis.
- Repeat at the marked location, then at other relevant sections if accessible, keeping them separate in the record. Note the nominal leaf, units, edge used, location, visible contact/gap and alternative leaves tried. If no convincing repeatable match is available, record that limitation and seek an appropriate profile measurement instead of interpolating a new radius.
INTERPRET THE MEASUREMENT
How to read the result
- A leaf marked R6 mm denotes a nominal radius of 6 mm, not a 6 mm diameter. For an ideal complete circle with that radius only, D = 2 × 6 = 12 mm. A rounded corner is only a local arc: this calculation does not establish the overall part size, wall thickness or pipe diameter.
- A 1/4 inch radius corresponds to 25.4 / 4 = 6.35 mm, not 6 mm. Keep the original marking and unit in the record; a visually similar metric leaf is not an exact substitute for the inch radius.
- Fictional adjacent leaves R6.0 and R6.5 are 0.5 mm apart in nominal radius. That spacing is not accuracy ±0.25 mm. Nor does an imperfect match to both prove a radius of 6.25 mm or guarantee that the actual profile lies between them.
- Write “closest available visual match: R6 mm at marked section A; alternatives and visible gaps recorded”, not “true radius exactly 6.000 mm”. Surface finish, section alignment, access, leaf condition and non-circular shape all affect the observation. A visual match is not calibration or documented acceptance of a drawing tolerance.
TROUBLESHOOT THE METHOD
Common problems and what to check
Several leaves seem equally plausible.
Check the same plane, accessible surfaces and lighting without forcing the leaf. Record the ambiguity. Do not average leaf labels or select the most convenient radius; use a more suitable verified profile method when the distinction matters.
The leaf fits near the middle but lifts near a shoulder.
Record the contact pattern and check whether the leaf body interferes or the chosen section is oblique. A different access shape may be needed. Do not grind the gauge or declare the part oversize/undersize from this observation alone.
The match changes along the edge.
Keep locations separate. The part may have varying or non-circular curvature, or the comparison setup may have changed. One best-fitting section is not evidence that the whole edge has the same radius.
STOP BEFORE THE HAZARD
Safety boundary
- Use only on an already loose manual bench sample. Do not place a leaf near a rotating cutter, spindle or other moving, energised or stored-energy equipment.
- Thin gauge leaves and sample edges can cut or pinch. Support the part safely, handle leaves gently and follow the manufacturer’s storage and care instructions; do not use a leaf as a scraper, pry tool or cutting guide.
- Do not use this visual comparison to approve structural, pressure-containing, vehicle or other safety-critical parts. A matching leaf is not authority to machine, remove guards, alter a component or commission a system.
SMART BUYING GUIDE
What to look for when choosing
- Choose the actual nominal radii and units needed for the comparison; check the supplied leaf list rather than assuming uniform increments throughout a set.
- Check the concave/convex edges, arc coverage, holder and access around shoulders. Manufacturer examples of several contact locations describe specific designs, not every folding gauge.
- Look for readable markings, documented gauge performance and care or calibration support where required. More leaves do not remove surface, alignment or interpretation limits.
Types of tool
Best for: Portable comparison of the listed nominal profiles where the holder and leaf shape have clearance.
Best for: A specified radius and a suitable access/contact shape; its available checks depend on the particular design.
Common functions
Worth paying more for
- Relevant sizes, clear units and undamaged documented measuring edges.
- An access shape and holder appropriate to the actual feature.
Usually not worth the extra cost
- A huge size count with no useful radii for the task.
- Extra decimal claims based only on leaf spacing or visual fit.
Sources & instructions
- Starrett Radius Gage Reference: concave/convex examples, access shapes and limits of different checking arcs (English; specific gauge designs)
- Mitutoyo Series 186: marked nominal radii and internal/external gauge features (English; model-specific product description)
Original symbolic schematic, not a photograph, printable radius template or calibration reference. Curves and clearances are not to scale; no usable radius dimensions are shown.