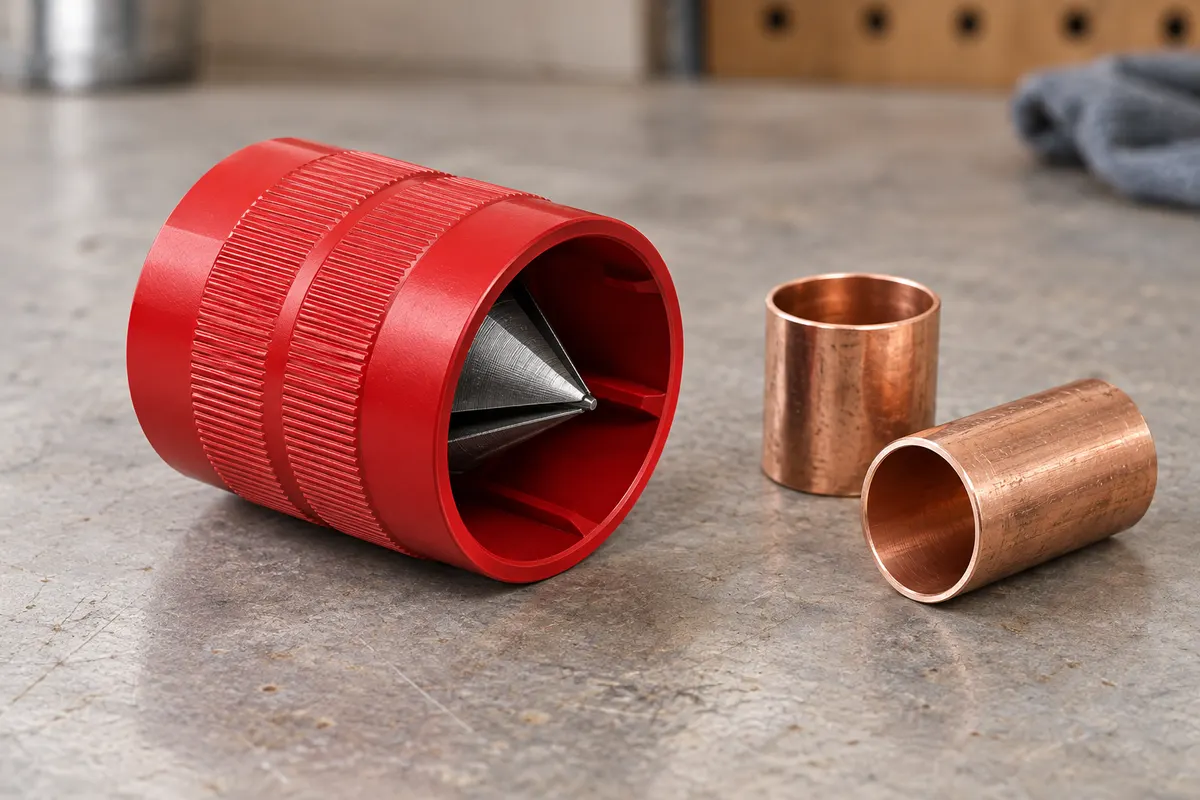
A REPEATABLE METHOD
How to use it
- Read the fitting-system preparation requirements. Identify whether it needs deburring, chamfering, calibration or a dedicated combined tool.
- Check material and diameter capacity of the reamer. Work with a loose, cool and securely supported tube end.
- Inspect the cut for squareness and crushing. Correct an unsuitable cut before removing burrs.
- Use the appropriate inner or outer cutting end with gentle controlled turns according to its manual. Remove the burr, not a large ring of sound wall.
- Inspect visually under good light, collect chips and clean by the system’s method. Recheck dimensions and required insertion preparation before joining.
INTERPRET THE MEASUREMENT
How to read the result
- A smooth-looking outside edge does not prove the inside burr has gone.
- The required chamfer comes from the connection instructions; a cone does not define a universal angle or depth.
- Do not rub a fingertip around a sharp pipe end to judge the result. Use light and appropriate inspection tools.
TROUBLESHOOT THE METHOD
Common problems and what to check
Problem
Tool chatters or catches
What to do
Check diameter, material, support and cutting edge. Do not solve incompatibility with more force.
Problem
End becomes visibly thin or oversized
What to do
Stop and reject the damaged end for the fitting. Recut only if there is enough sound length.
Problem
Debris remains inside
What to do
Remove and account for chips before connection; follow the system cleaning and flushing procedure.
STOP BEFORE THE HAZARD
Safety boundary
- Keep hands clear of the cutting cone; protect eyes from chips.
- Use only on isolated loose material, not a pressurized installed service.
- Do not substitute a general reamer for a mandatory pipe-system calibration tool.
SMART BUYING GUIDE
What to look for when choosing
- Match the actual material and diameter range.
- Choose a tool that reaches both required edges and can be cleaned and inspected.
Types of tool
Best for: Compatible metal tube ends needing both burrs removed.
Best for: Plastic or multilayer systems that explicitly specify it; not interchangeable with a generic cone.
Common functions
Removing internal cut burrs.Controlled external edge preparation where the connection permits it.
Worth paying more for
- Correct cutter material, capacity and replaceable parts.
- A grip and cutting edges that allow controlled light pressure.
Usually not worth the extra cost
- A promised one-tool replacement for every pipe-system preparation step.
- Aggressive cutters chosen to enlarge the bore.
Sources & instructions
AI-generated topic illustration; do not use the depicted scale for measurements.