A REPEATABLE METHOD
How to use it
- Check the adhesive instructions for tile suitability, substrate preparation, notch profile, permitted bed thickness and any back-buttering requirement.
- Inspect the blade for worn teeth and hardened material. Prepare only the amount and area that can be installed within the specified working times.
- Apply and comb the adhesive with the prescribed profile and angle, keeping ridges straight and parallel rather than making closed swirls.
- Bed a trial tile with the specified movement. While the adhesive is still workable, lift it and inspect transfer and ridge collapse against the actual installation requirements.
- If transfer is inadequate, correct the cause before continuing. Repeat checks when conditions change; record the successful method and measured material use for the order estimate.
INTERPRET THE MEASUREMENT
How to read the result
- A 10 × 10 mm notch describes the blade geometry, not a guaranteed 10 mm finished bed. Angle, tile back, substrate and bedding change the result.
- Visible uncollapsed channels or poorly wetted areas under a trial tile need investigation. Do not assume a firmly seated tile has the required contact.
- Open time after spreading and pot life after mixing are different limits. Neither can be inferred from notch size or how much adhesive remains in the bucket.
- Use the adhesive’s stated or verified application consumption in the quantity calculator. Notch height alone is not a reliable kg/m² conversion.
Work through an example
Illustrative situations and readings, not product tolerances. Follow the instructions for your own tool.
A lifted trial tile reveals a problem the notch cannot rule outOpen the worked exampleClose the worked example
An installer uses the selected adhesive and a 10 × 10 mm square-notched blade on a prepared practice area. These fictional observations are not an acceptance specification.
Before the reading
- Obtain the actual contact, bed-thickness and application requirements.
- Check blade condition, tile back, preparation and working times.
- Keep ridges parallel and lift a trial tile while the adhesive is workable.
Example notes
- Marked notch geometry
- 10 × 10 mm
- Centre of lifted tile
- Several uncollapsed channels
- Adhesive transfer
- Some patches remain unwetted
What this tells you
The notch label has not established the finished bed or required contact. The observed channels and unwetted patches need investigation; this example cannot supply a numerical contact percentage or certify acceptance.
Your next step
Stop extending the area. Recheck timing, preparation and application against the adhesive instructions, then repeat the trial after a permitted correction. Seek installation advice if the required transfer remains unattainable.
Do not conclude: Do not cover the rest of the floor on the assumption that a larger notch or stronger pressing must solve every transfer problem.
Method reference: RUBI: notched trowel application and timing
TROUBLESHOOT THE METHOD
Common problems and what to check
The surface skins before the tile is placed
Stop using that spread area and follow the product’s removal and reapplication instructions. Work in smaller areas; do not merely wet the skin.
The lifted tile has patchy transfer
Recheck preparation, tile back, application method and timing. Adjust only within the adhesive instructions and verify another trial tile.
Adhesive repeatedly fills the joints
Check the selected notch, blade angle and bedding method rather than treating excess squeeze-out as proof of good contact. Clean joints within the permitted working window.
STOP BEFORE THE HAZARD
Safety boundary
- Follow the adhesive safety data sheet; prevent eye and skin contact and use the specified dust controls when handling dry powder.
- Keep hands clear of sharp blade edges. Support tile samples and lift them with suitable handling equipment when their size or mass requires it.
- Do not use a thicker adhesive bed to conceal an unsuitable substrate or missing waterproofing; check the installation system before covering it.
SMART BUYING GUIDE
What to look for when choosing
- Start with the adhesive and tile installation requirements, then verify transfer on the actual prepared substrate.
- Choose a comfortable handle, sound blade and exact notch profile; replace worn teeth rather than pressing harder to compensate.
Types of tool
Best for: Applications that specify this profile and size, checked with a trial tile.
Best for: The matching adhesive and tile system—not an automatic upgrade for every tile.
Common functions
Worth paying more for
- Correct, durable notch geometry and an easy-clean blade.
- A comfortable handle for the actual working position.
Usually not worth the extra cost
- Promises of full contact without a trial check.
- A large notch advertised as suitable for every tile and adhesive.
Sources & instructions
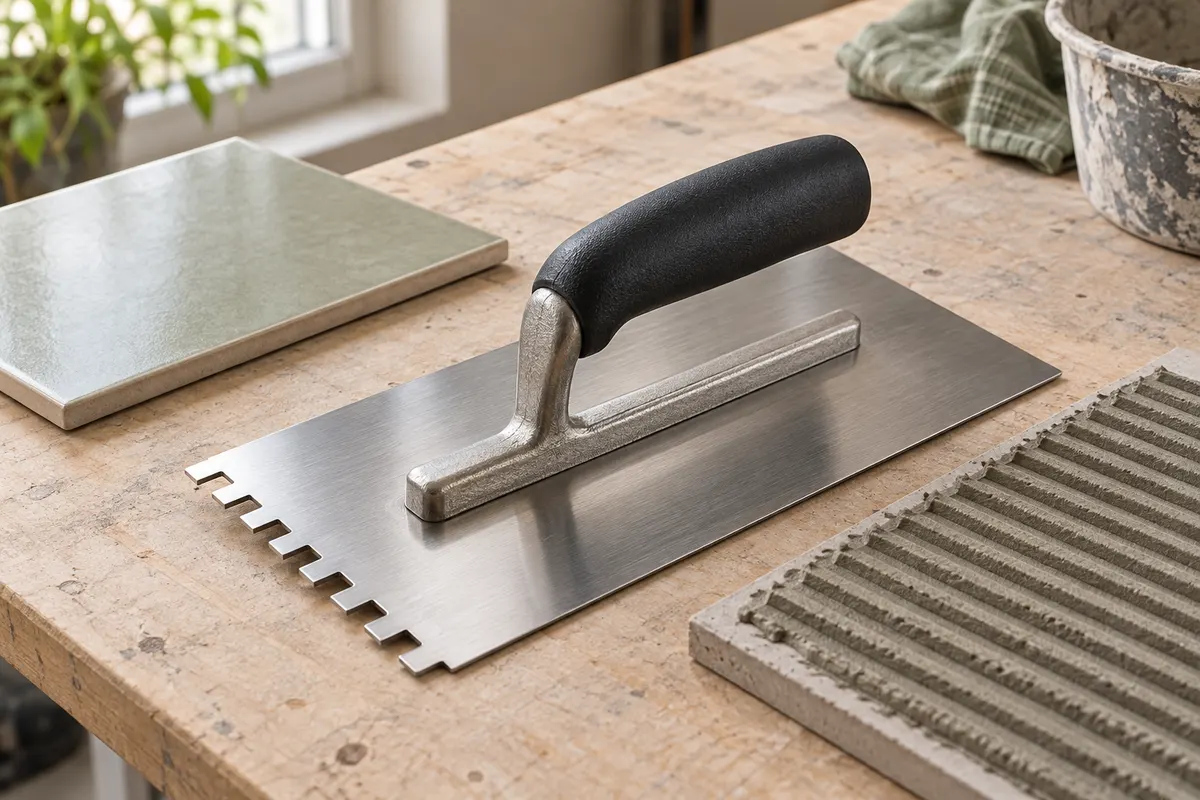
AI-generated topic illustration; do not use the depicted scale for measurements.