A REPEATABLE METHOD
How to use it
- Inspect the body and tip, select the correct sensitivity and prove the tester on a known live source.
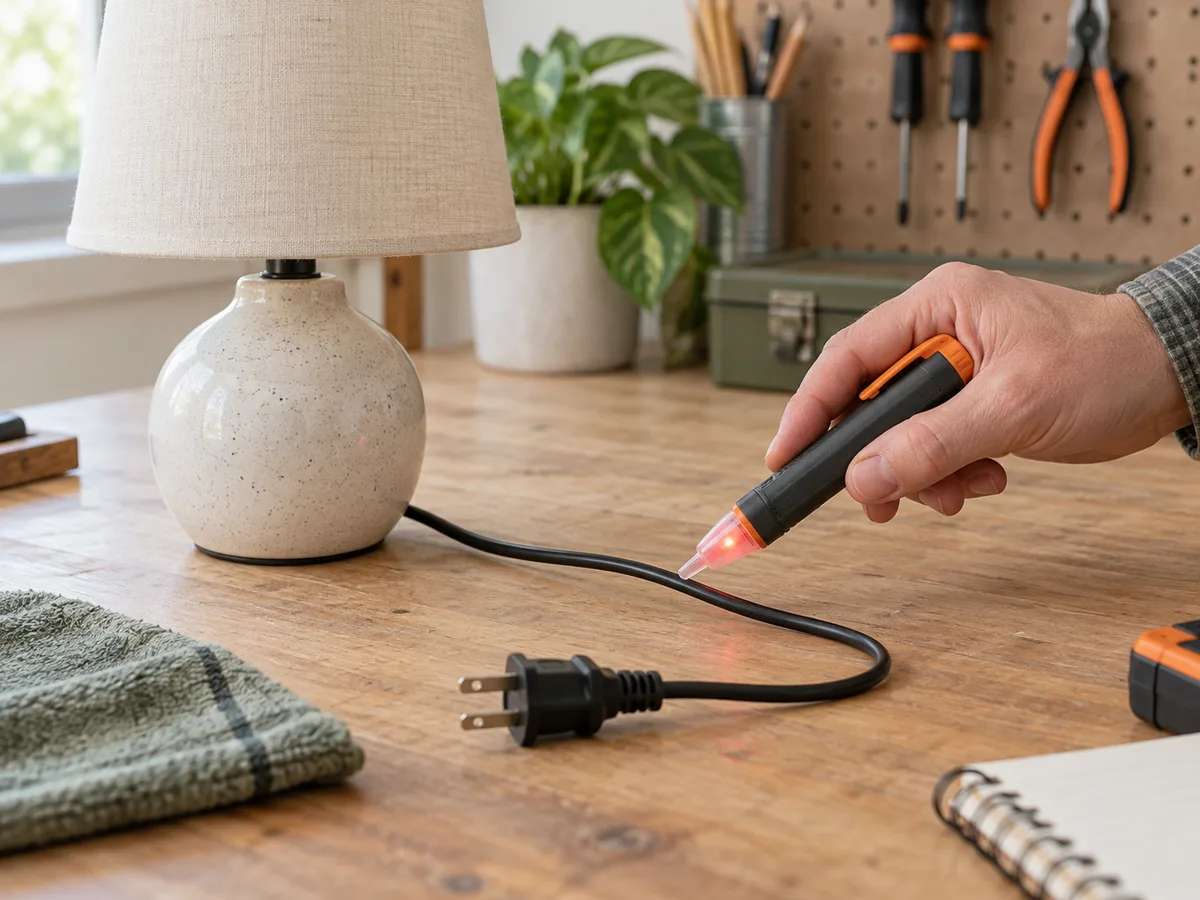
- Scan the intact cable or faceplate slowly without touching bare conductors or entering an enclosure.
- Compare along the cable and around both sides of the outlet; keep your grip behind the marked barrier.
- Re-prove the tester on the same known source immediately after the check.
- Before electrical work, isolate the circuit and use the locally required contact test and lockout procedure.
INTERPRET THE MEASUREMENT
How to read the result
- Light or sound means an AC field was detected; it does not identify the exact voltage or conductor.
- High sensitivity finds weak fields but also increases capacitive and adjacent-circuit indications.
- No indication may mean no field, DC voltage, shielding, distance, a failed tester or an unfavorable conductor position.
TROUBLESHOOT THE METHOD
Common problems and what to check
Problem
The tester signals along a cable that is supposedly off.
What to do
Check for induced voltage from adjacent live cables, two-way switching or a disconnected neutral. Confirm with an appropriate contact instrument.
Problem
The indication appears on only one side of a cord.
What to do
The live conductor may be closer to that surface. Rotate and rescan; do not use this behavior to identify polarity with certainty.
Problem
A known live source gives no indication.
What to do
Stop using the tester. Check its battery, mode and self-test, then replace or service it before any further screening.
STOP BEFORE THE HAZARD
Safety boundary
- Never use a non-contact tester as the sole proof of isolation before touching conductors.
- Do not insert the tip into damaged insulation, wet equipment or an open energized panel.
- Electrical safe-isolation rules and approved instruments vary by region; follow local requirements and training.
SMART BUYING GUIDE
What to look for when choosing
- Match the stated voltage and frequency range to the local system and intended low-voltage work.
- A clear self-test, visible battery state and dual sensitivity are more useful than decorative features.
- Choose a credible safety category and certification for the environment in which it will be used.
Types of tool
Best for: Simple household screening on familiar mains circuits.
Best for: Switching between sensitive tracing and fewer false indications.
Best for: Technicians who understand both modes and their limitations.
Common functions
Visual and audible indicationLow and high sensitivityBattery and self-testWork lightVibration alert
Worth paying more for
- Reliable self-test and battery warning
- Documented range and credible safety certification
- Two useful sensitivity ranges
Usually not worth the extra cost
- Claims that silence proves a circuit is safe
- An exact-looking voltage scale on a field detector
- Wireless features that do not improve verification