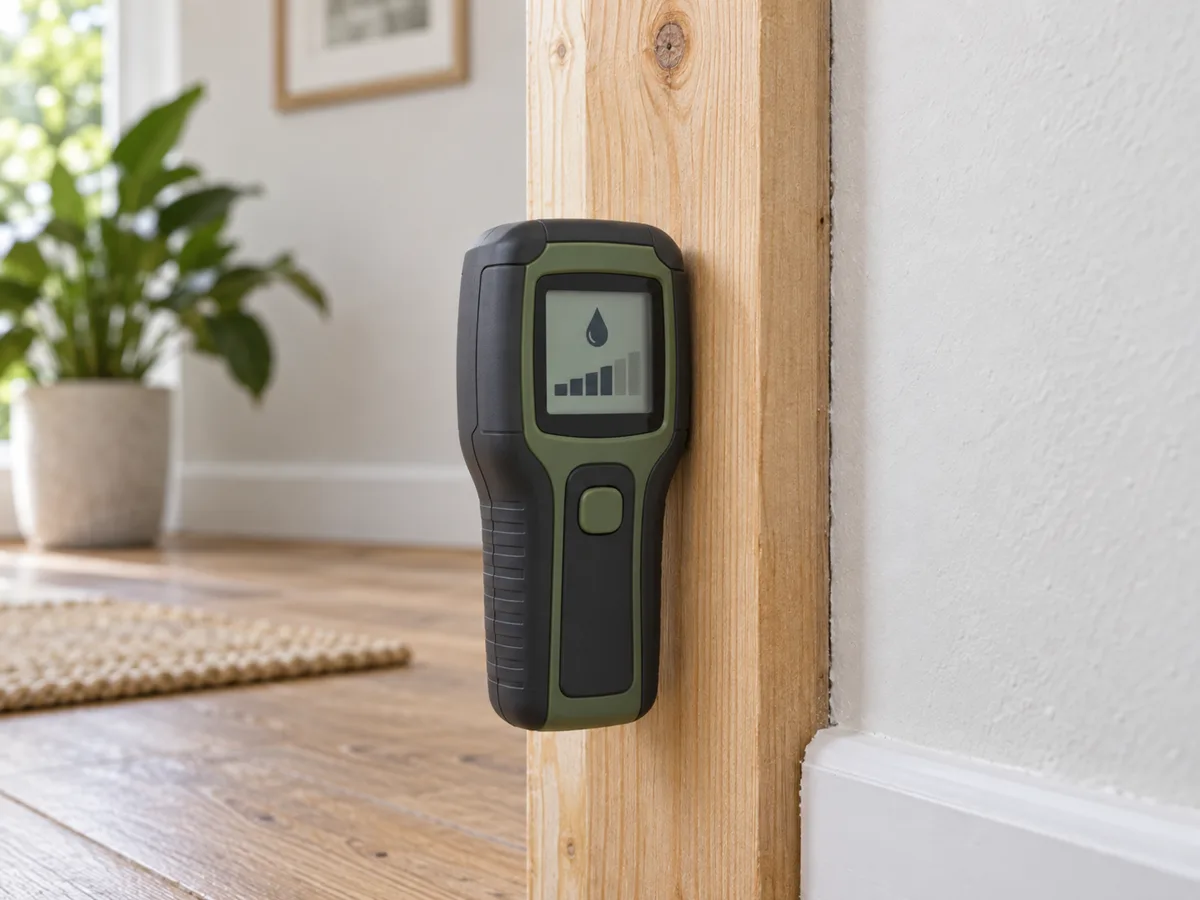
A REPEATABLE METHOD
How to use it
- Identify the material and choose the matching mode or correction setting when the meter provides one.
- Measure a known dry area of the same material to create a local baseline.
- Take a grid of readings across and beyond the suspect area rather than testing one point.
- Repeat at different depths or from the opposite side when accessible, and note recent weather or plumbing use.
- Investigate the moisture source and confirm important decisions with an appropriate reference method.
INTERPRET THE MEASUREMENT
How to read the result
- Timber percentage modes may estimate moisture content; drywall or masonry scales are often relative indexes.
- Pinless depth is approximate and readings can be raised by pipes, screws, foil or dense material.
- Trend and boundary shape are often more useful than an isolated absolute number.
TROUBLESHOOT THE METHOD
Common problems and what to check
Problem
The meter reports a wet vertical line in an otherwise dry wall.
What to do
Check for a metal stud, pipe or cable before concluding that the line is moisture.
Problem
Pin readings vary widely a few millimetres apart.
What to do
Grain, salts, surface contamination and uneven contact can affect resistance. Repeat and compare a wider pattern.
Problem
The surface looks dry but the reading remains elevated.
What to do
Moisture may remain below the surface, or another material may be influencing the sensor. Confirm with a second method.
STOP BEFORE THE HAZARD
Safety boundary
- Locate concealed wiring and pipes before pushing pins into a wall or floor.
- Wear suitable protection around contaminated water, damaged materials or suspected mold.
- Do not declare a building safe, dry or mold-free from one meter reading.
SMART BUYING GUIDE
What to look for when choosing
- Choose pin mode for depth comparisons and pinless mode for rapid non-destructive mapping; combination meters can do both.
- Useful features include material selection, hold, a reference scale and replaceable insulated pins.
- Check the stated sensing depth and calibration purpose rather than relying on an unexplained green-yellow-red light.
Types of tool
Best for: Timber moisture estimates and depth comparison with insulated pins.
Best for: Rapid non-destructive mapping over walls and floors.
Best for: Finding a suspect area, then checking it more closely.
Common functions
Material or timber-species correctionRelative reference modeSelectable sensing depthHold and alarm thresholdReplaceable insulated pins
Worth paying more for
- Repeatable readings and stated calibration purpose
- Both pin and pinless modes if you inspect mixed materials
- Replaceable probes and a useful depth specification
Usually not worth the extra cost
- A vague green-yellow-red display with no scale
- Large species databases for occasional building checks
- Cloud reports before you have a sound measuring method