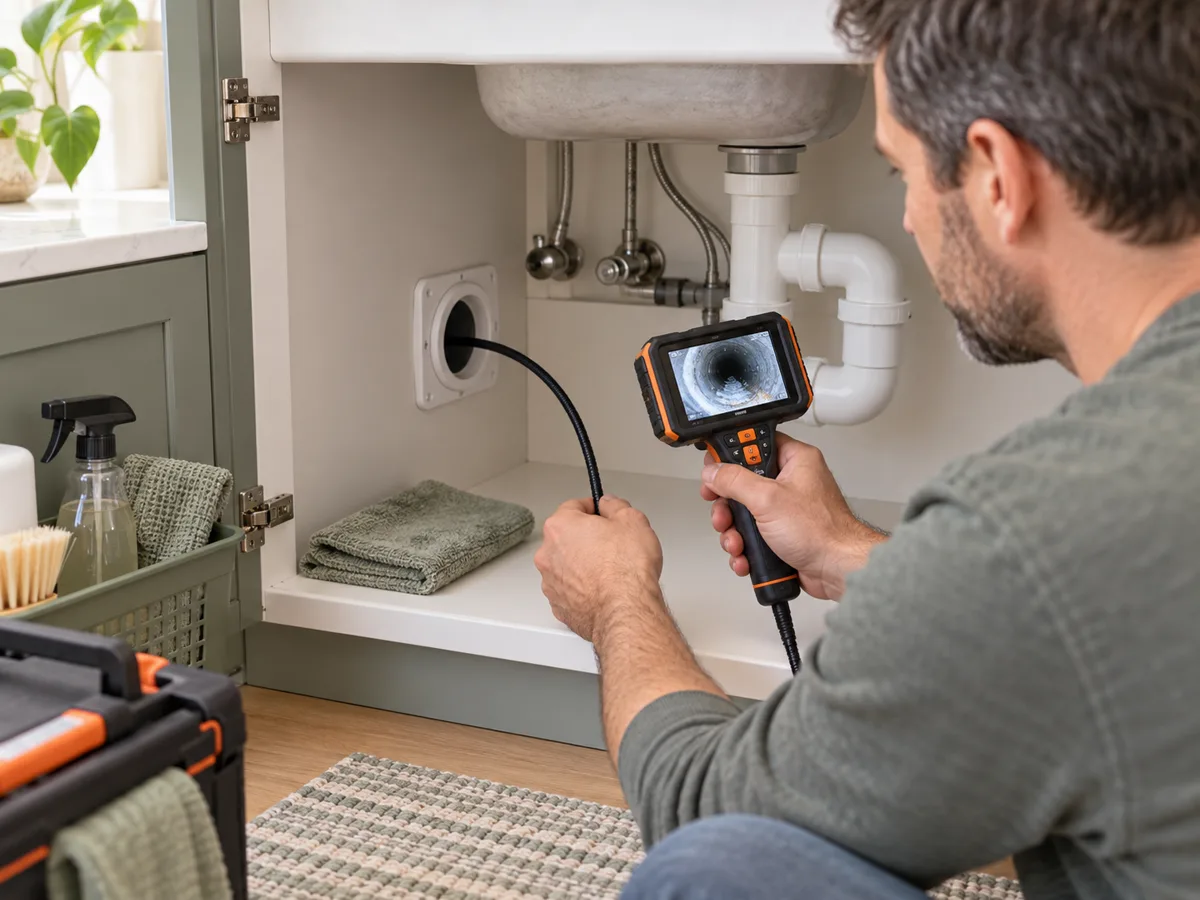
A REPEATABLE METHOD
How to use it
- Identify the space and hazards first; isolate moving, hot, pressurized or electrical equipment before inserting a probe.
- Clean the lens, set moderate light and confirm the camera orientation on a known object before entry.
- Advance slowly without forcing bends. Use nearby joints, fasteners or measured probe length as location references.
- Pause to focus and reduce glare; capture a wide context image before a close-up of the defect.
- Withdraw carefully, disinfect or clean the probe for the application and label images with location and direction.
INTERPRET THE MEASUREMENT
How to read the result
- A wide-angle lens exaggerates distance and shape, so include a known feature or scale whenever size matters.
- Bright white patches are often reflections from water, metal or a dirty lens rather than damaged material.
- The visible symptom may be downstream from the cause; map the camera position instead of diagnosing from one frame.
TROUBLESHOOT THE METHOD
Common problems and what to check
Problem
The picture is milky, dark or covered in bright glare.
What to do
Clean the lens, reduce LED brightness and change the angle. A drop of water close to the lens can obscure the whole scene.
Problem
It is impossible to tell which way the image faces.
What to do
Mark the probe orientation, rotate deliberately and record insertion length. Gravity-level or dual-lens features can help but do not replace location notes.
Problem
The probe stops at a bend.
What to do
Do not force it. Withdraw, inspect the tip and use the correct diameter, stiffness or access point to avoid lodging or damaging the probe.
STOP BEFORE THE HAZARD
Safety boundary
- Never insert the camera into energized equipment, moving machinery, hot flues or a pressurized system unless the equipment is specifically rated and the procedure is safe.
- Keep a probe used in drains or contaminated cavities away from potable-water equipment; clean and disinfect according to the application.
- Do not open a concealed cavity solely to chase an unclear image when asbestos, mold, wiring, gas or structural hazards may be present.
SMART BUYING GUIDE
What to look for when choosing
- Match probe diameter, length, stiffness and minimum bend radius to the access route rather than buying the longest cable.
- A short focal distance, adjustable lighting and useful screen resolution matter more than a large advertised megapixel number.
- Choose an appropriate ingress rating, replaceable probe and image export if the tool will document recurring inspections.
Types of tool
Best for: Occasional close inspections through easy access points.
Best for: Reliable field use without depending on a phone.
Best for: Looking around bends and inspecting a specific side of a cavity.
Common functions
Adjustable LED lightingNear-focus distanceProbe ingress ratingDual lens or articulationPhoto and video export
Worth paying more for
- A probe geometry that fits the real access route
- Clear near focus and controllable lighting
- A replaceable, suitably rated camera probe
Usually not worth the extra cost
- Extreme cable length for short domestic inspections
- Digital zoom presented as optical detail
- High headline resolution with a poor lens and tiny sensor