A REPEATABLE METHOD
How to use it
- Identify the planned finish and its specified checking method, span and tolerances before deciding whether a gap is acceptable.
- Clean the dry surface and contact edge; inspect the rule for dents, hardened plaster and obvious bending.
- Rest the working edge gently on the surface without pushing it flat. Note where it touches, rocks or leaves a gap.
- Record the position, direction and rule length; use a suitable gap gauge if the checking method calls for a measured gap.
- Repeat along crossing directions and adjacent areas. Compare the recorded checks with the actual finish specification before planning corrections.
INTERPRET THE MEASUREMENT
How to read the result
- A gap describes the checked span only; one pass does not map the entire room.
- Flatness is not level: a uniformly sloping surface can be flat. A plain rule has no gravity-based level reference.
- There is no universal acceptable gap for every floor, tile or wall. Follow the relevant product and project requirements.
TROUBLESHOOT THE METHOD
Common problems and what to check
The rule rocks
Look for a local high spot or debris; clean and repeat without pressing down.
The result changes when the rule is turned
Recheck the same position, contact edge and cleanliness; compare against a reliable reference and stop using a suspect bent rule.
Light is visible but the gap is unknown
Do not estimate millimetres from light alone. Measure using the specified gap method or record it as an unmeasured observation.
STOP BEFORE THE HAZARD
Safety boundary
- Carry long rules clear of people, windows and electrical equipment; do not use them near overhead power lines.
- Check from a stable accessible position, not by leaning over stairs or working under an unsecured rule.
- Do not grind, cut or remove structural material solely because of this check; establish the substrate and correction method first.
SMART BUYING GUIDE
What to look for when choosing
- Choose the working length required by the checking method and a profile you can handle safely.
- Check edge condition and the manufacturer’s stated straightness information; a vial specification is not an edge-straightness specification.
Types of tool
Best for: Local surface comparison where level is checked separately.
Best for: Surface work plus a separate level check within the model’s specified use.
Common functions
Worth paying more for
- A sound working edge, suitable rigidity and protective storage.
Usually not worth the extra cost
- Extra length that cannot be placed correctly in your room, or precision claims without a relevant specification.
Sources & instructions
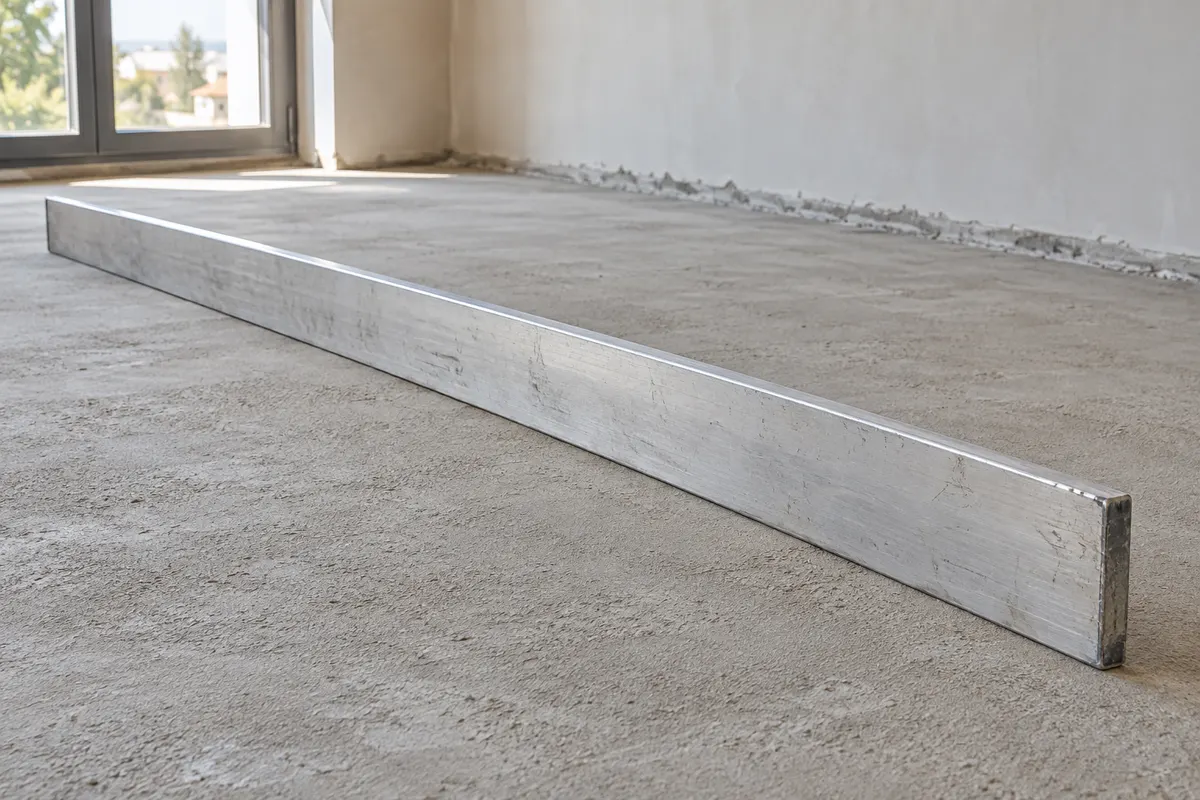
AI-generated topic illustration; do not use the depicted scale for measurements.
Put the measurements to work
Turn drawings and site measurements into transparent quantities without confusing an order estimate with structural or product design.
Plan flooring and wallpaper without hiding wasteSeparate measured area, effective product coverage, layout allowance and whole-pack purchasing.