A REPEATABLE METHOD
How to use it
- Read the sealant instructions and safety data. Check substrate compatibility, joint dimensions, backing and required primer.
- Remove failed material and prepare sound clean surfaces by the product method. A new bead over loose old sealant is not a repair.
- Use the correct cartridge holder and open the seal and nozzle as instructed, cutting away from yourself. Test the opening on scrap.
- Seat the plunger and apply an even continuous bead with controlled trigger pressure and speed. Fill the intended joint rather than bridge a dirty gap.
- Release pressure at the end. Tool within the product’s allowed time using only permitted aids; respect cure time before exposure to water or movement.
INTERPRET THE MEASUREMENT
How to read the result
- Nozzle opening controls delivery, not the final required joint depth.
- The bead calculator is a volume estimate. Real profile, backing, starts and losses affect actual cartridge use.
- Skin formation and full cure are different: a dry-looking surface is not proof the joint is ready for service.
TROUBLESHOOT THE METHOD
Common problems and what to check
Problem
Material keeps flowing after release
What to do
Use the release mechanism and check the cartridge and gun. Do not leave the nozzle over a finished surface.
Problem
Bead has gaps or bubbles
What to do
Check preparation, nozzle and speed; correct within the permitted working time. Do not just smooth over hidden voids.
Problem
Plunger force is excessive
What to do
Check unopened seals, hardened material, cartridge size and product viscosity. Do not bend the frame or heat the cartridge by guesswork.
STOP BEFORE THE HAZARD
Safety boundary
- Follow product ventilation, skin and eye protection requirements; some sealants release irritating substances while curing.
- Keep the opening knife away from hands; store the nozzle and sharp tools safely.
- Do not repair structural glazing, fire-rated seals or a leaking pressure fitting with a general DIY bead; use the specified specialist system.
SMART BUYING GUIDE
What to look for when choosing
- Match cartridge or foil-pack format and the viscosity requirements.
- Choose controllable pressure release and a straight plunger for regular work.
Types of tool
Best for: Compatible standard cartridges and occasional controlled application.
Best for: The specified pack format; a skeleton cartridge gun cannot hold it safely.
Common functions
Controlled sealant delivery.Repeatable trial beads before the final joint.
Worth paying more for
- Rigid frame, smooth plunger and effective pressure release.
- Comfortable grip appropriate to the selected material.
Usually not worth the extra cost
- Extreme thrust for a small low-viscosity job.
- Claims that a drip-free gun eliminates preparation and cure requirements.
Sources & instructions
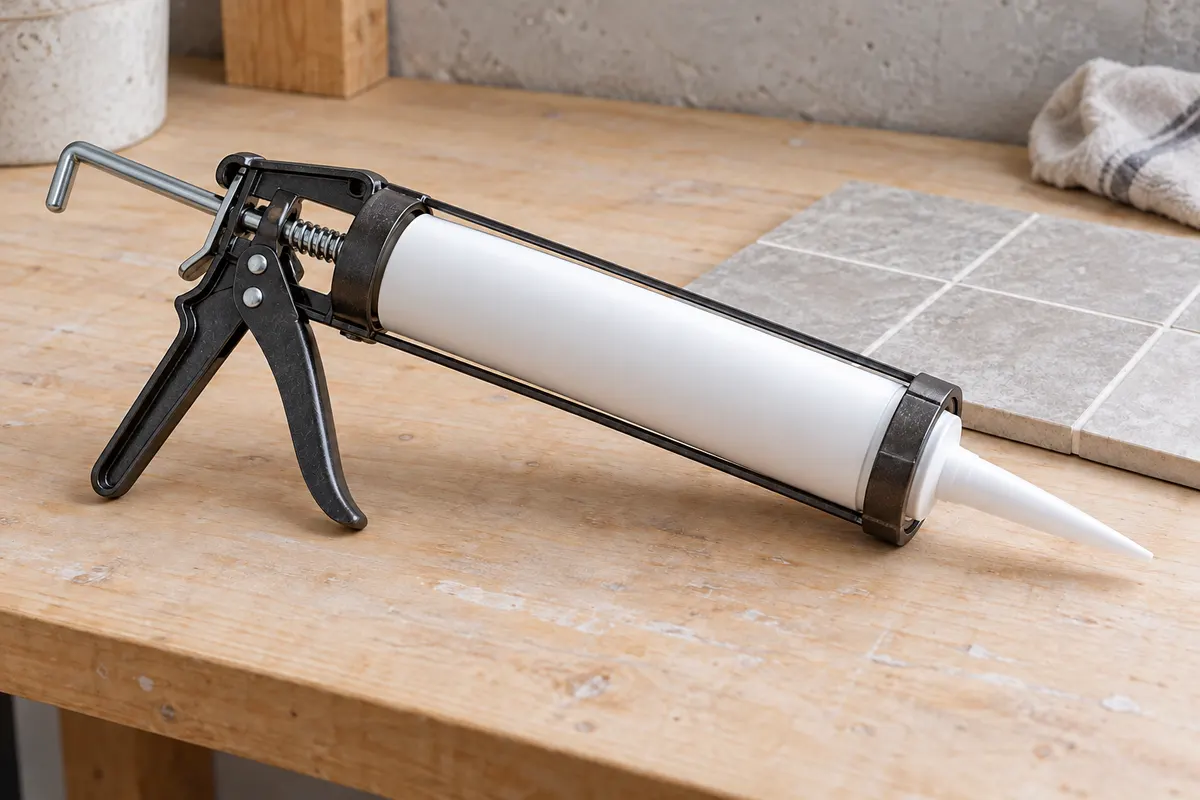
AI-generated topic illustration; do not use the depicted scale for measurements.